
So this is my short and sweet "barely there" contour/highlight step-by-step that still gives a little oomph to the face (and much more depth than plain ol' foundation) yet cuts out a ton of steps and isn't nearly as complicated. It concentrates the attention on the cheeks/cheekbone area, for an instant pop! Again I'll say that this version is a lot less dramatic and noticeable, but it's still a great every day look!
Tutorial after the jump!
Products used:

Benefit Cosmetics Watt's Up! Highlighter ($30)
NARS Blush in "Orgasm" ($30)
M.E. Fluffy Blush Brush ($??)
Sigma Beauty F80 Flat Kabuki Brush ($21) [forgot to photograph this!]
MAC Cosmetics Eye Shader Brush #239 ($25)
Maybelline NY Coverstick Concealer in "White" ($6)
Make Up For Ever Mat Bronze Bronzing Powder in "40" ($32)
Sephora Collection Pro Angled Contour Brush #75 ($30)
Bobbi Brown SPF 15 Tinted Moisturizer in "Medium to Dark" ($44)
How-To:
1. Start off with a moisturized face. For this look (because it's a "barely there" contour) I strongly recommend using a light coverage foundation or tinted moisturizer instead of a very heavy and full coverage foundation, so it doesn't end up looking to heavy or unbalanced. If you don't feel comfortable only using something so sheer, try using a spot concealer on any problem areas on your face, then applying a light-coverage foundation over it!
Do your eye makeup and brows as normal!
Then, using an angled contour brush and a matte bronzer, sweep a generous amount of product onto the hollows of your cheeks. [Try to use a MATTE bronzer that is 3 shades darker than your foundation color!] Start at the the point where the top of your ear meets your face (where your "sideburns" start) and work your way down towards the corner of your mouth. Stop the "line" before you get to your mouth though!


2. Using the same angled contour brush and matte bronzer, sweep the product along your jawline -- start where the bottom of your ear meets your face, following the jaw, and all the way down to your chin.


3. Same brush and bronzer! Sweep the color onto your temples and down to the point where the bronzer starts on your cheekbones. Follow and hug your hairline.


[Obviously repeat the same steps on the other side of your face!!]
4. With a light cream highlighter or concealer [about 3 shades lighter than your foundation color!] dab a small amount of product underneath your eyes with a concealer brush (or a flat eyeshadow brush, which is what I use.. use whatever you use for blending your concealer!).


5. Using a flat-top foundation buffing brush, blend blend blend! Use small, compact, circular motions to buff the color out. Start blending the under-eye highlighter first, then move onto the bronzer (so you don't dilute the light color!).


6. Add an illuminating cream highlight to the tops of your cheeks -- you can just use your fingers to blend this one out.

7. Using a large, fluffy blush brush, sweep a peachy-pink shimmery blush to the apples of your cheeks. Extend the color back towards your hairline so it doesn't just look like you were running up a flight of stairs, but have a pretty "glow from within!"


8. Okay that's it! :] You can set the under-eye area with a translucent loose powder if you tend to crease or get oily in this area, but if not.. it's not a 100% necessary step!
 |
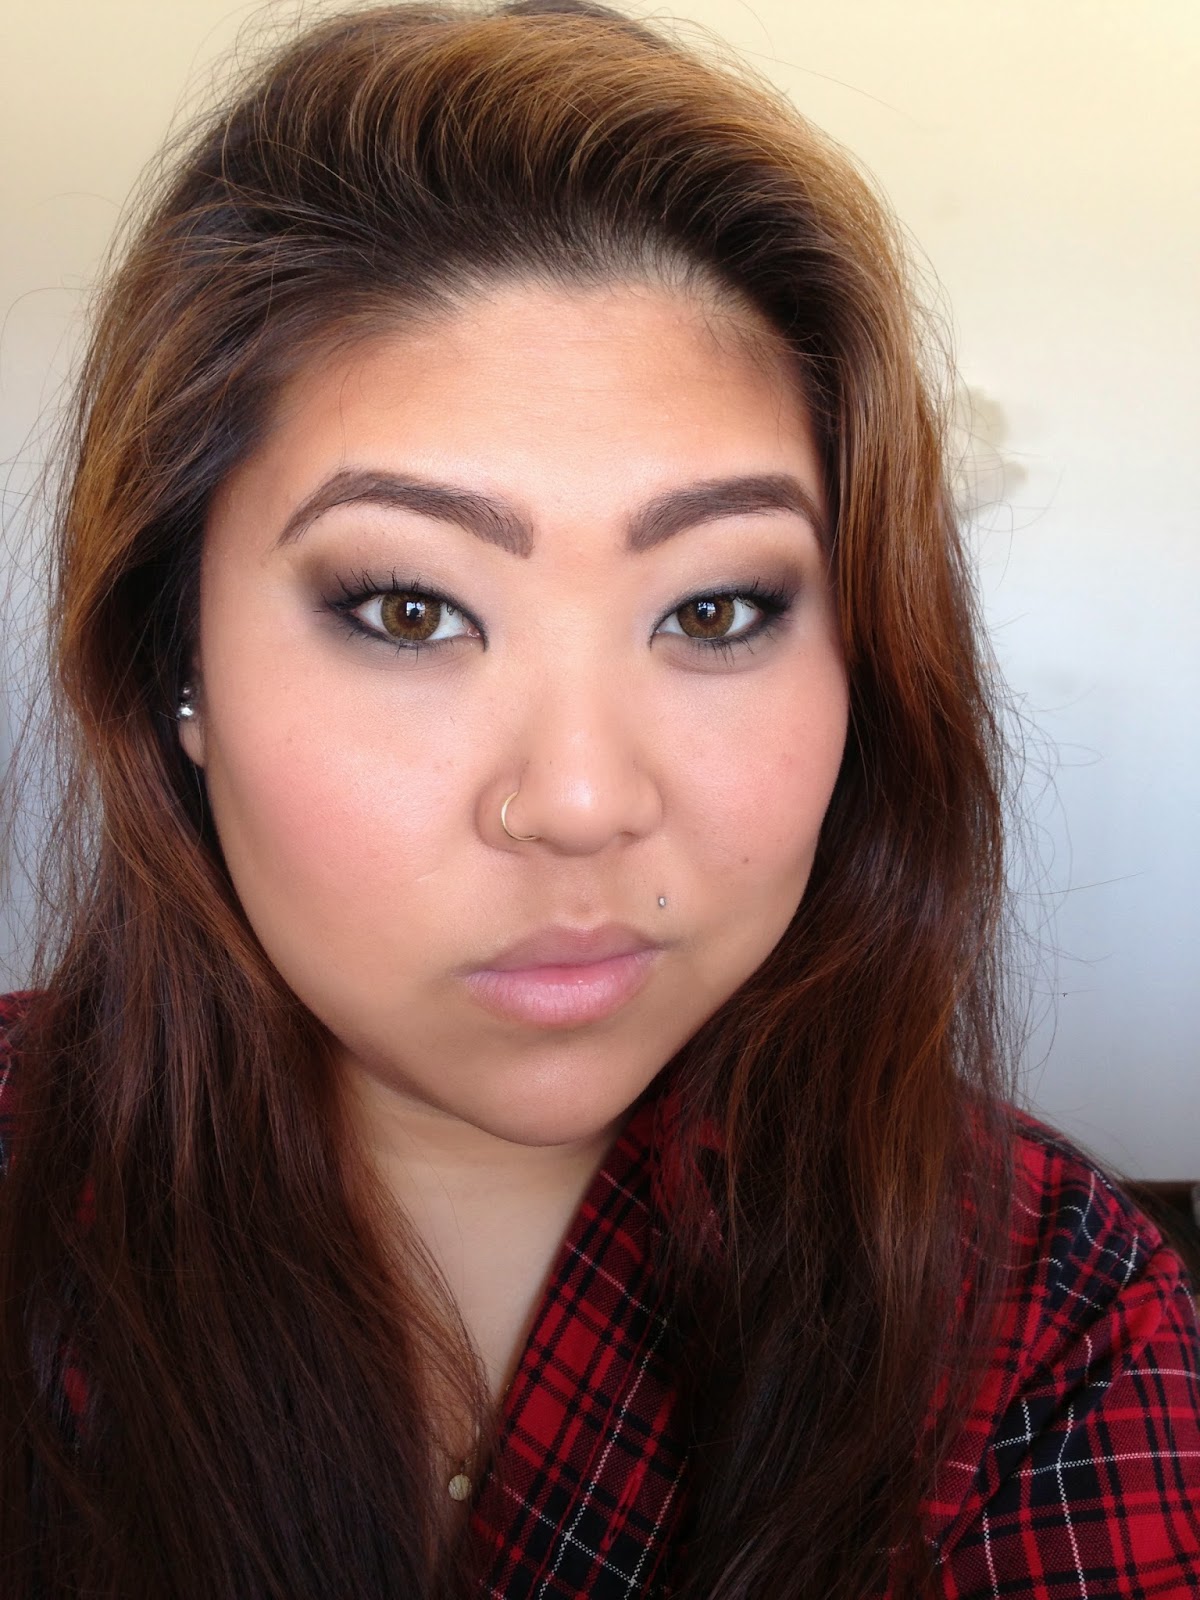
| Tadaaa! All done :] |
I hope this "barely there" contour/highlight version is simpler to follow and easier to wear for an every-day look! It's still enough to add something special to your makeup routine, but not so crazy that it looks like you're going out to the bars on a Wednesday morning in class. I still think it looks luminescent and pretty while maintaining a natural feel.
And as always, if you have any suggestions.. let me know!
xojaybee
No comments:
Post a Comment