
If you're anything like me, you wear a lot of leggings. And I mean a lot. I think I wore leggings 6 out of 7 days of the week for the past 7 or 8 months.. and I wish I was exaggerating!
Waking up, pulling on your favorite pair of leggings, and looking down to find a rip or a hole is such a sinking feeling. But before you sigh and throw them away -- wait! You can DIY them into an awesome pair of destroyed/distressed leggings!
My leggings already had a couple of holes in them.. sad face. Plus I accidentally spilled a ton of eyelash glue on them a few weeks ago -- which, let me tell you, just doesn't come out of fabric easily. So I picked up the chalk and scissors and got to cutting!

1. All you need is an old pair of leggings, a piece of chalk, and a pair of scissors!
Turn your leggings inside out and lay them flat on a flat surface. Really try to get them as flat as you can, and match up the seams. My pair only had a seam down the inside, but if you have a double seam, make sure to line them up properly.

2. With a piece of chalk, draw a mish-mosh of lines down both of the legs. I use chalk because it's super easy to see on the fabric when I'm ready to cut, and it's also totally erasable. If you don't like a line you just drew, just brush it away with your hand and start again!


I staggered my lines to make the distressing as messy as possible, which was the look I was going for. If you want super neat rips, go for it! This part of the DIY is super customizable. You can do as many or as few rips as you want, and space them out however you want!

Make sure to draw them on both of the legs!

Mine looked like this when I was happy with the placement of the lines.
3. Pinch the center of a chalk line with your fingers and gather ONLY THE TOP LAYER of fabric between your fingers. Make sure you're not grabbing both the back and front of the legging!!

4. Make a small snip in the fabric where you just pinched -- it should be in center of the chalk line.

 |
| The snip should look like this. |
5. Stick your scissors into the little fabric hole you just created, and continue to cut the chalk line. Again, be sure that you're only cutting through ONE layer of the leggings!!

 |
| The line should look like this after cutting! |
6. Repeat steps 3-5 with every chalk line you drew.


You can vary the types of cuts you create to your liking! Here I "broke up" one of the chalk lines by creating two "rips" on only one chalk line. Be as creative as you want!


Make sure to repeat steps 3-5 on the chalk lines on the other leg as well!
7. This step is optional, but I think it gives the leggings a more distressed look when they're all done. In random places on each leg, snip a little hole or tear into the fabric. This is very similar to the little snip you created on the chalk lines in step 4, but even smaller. Just a tiny, little snip will create a perfect sized rip in the leggings.

 |
| The little snips will look like this! |
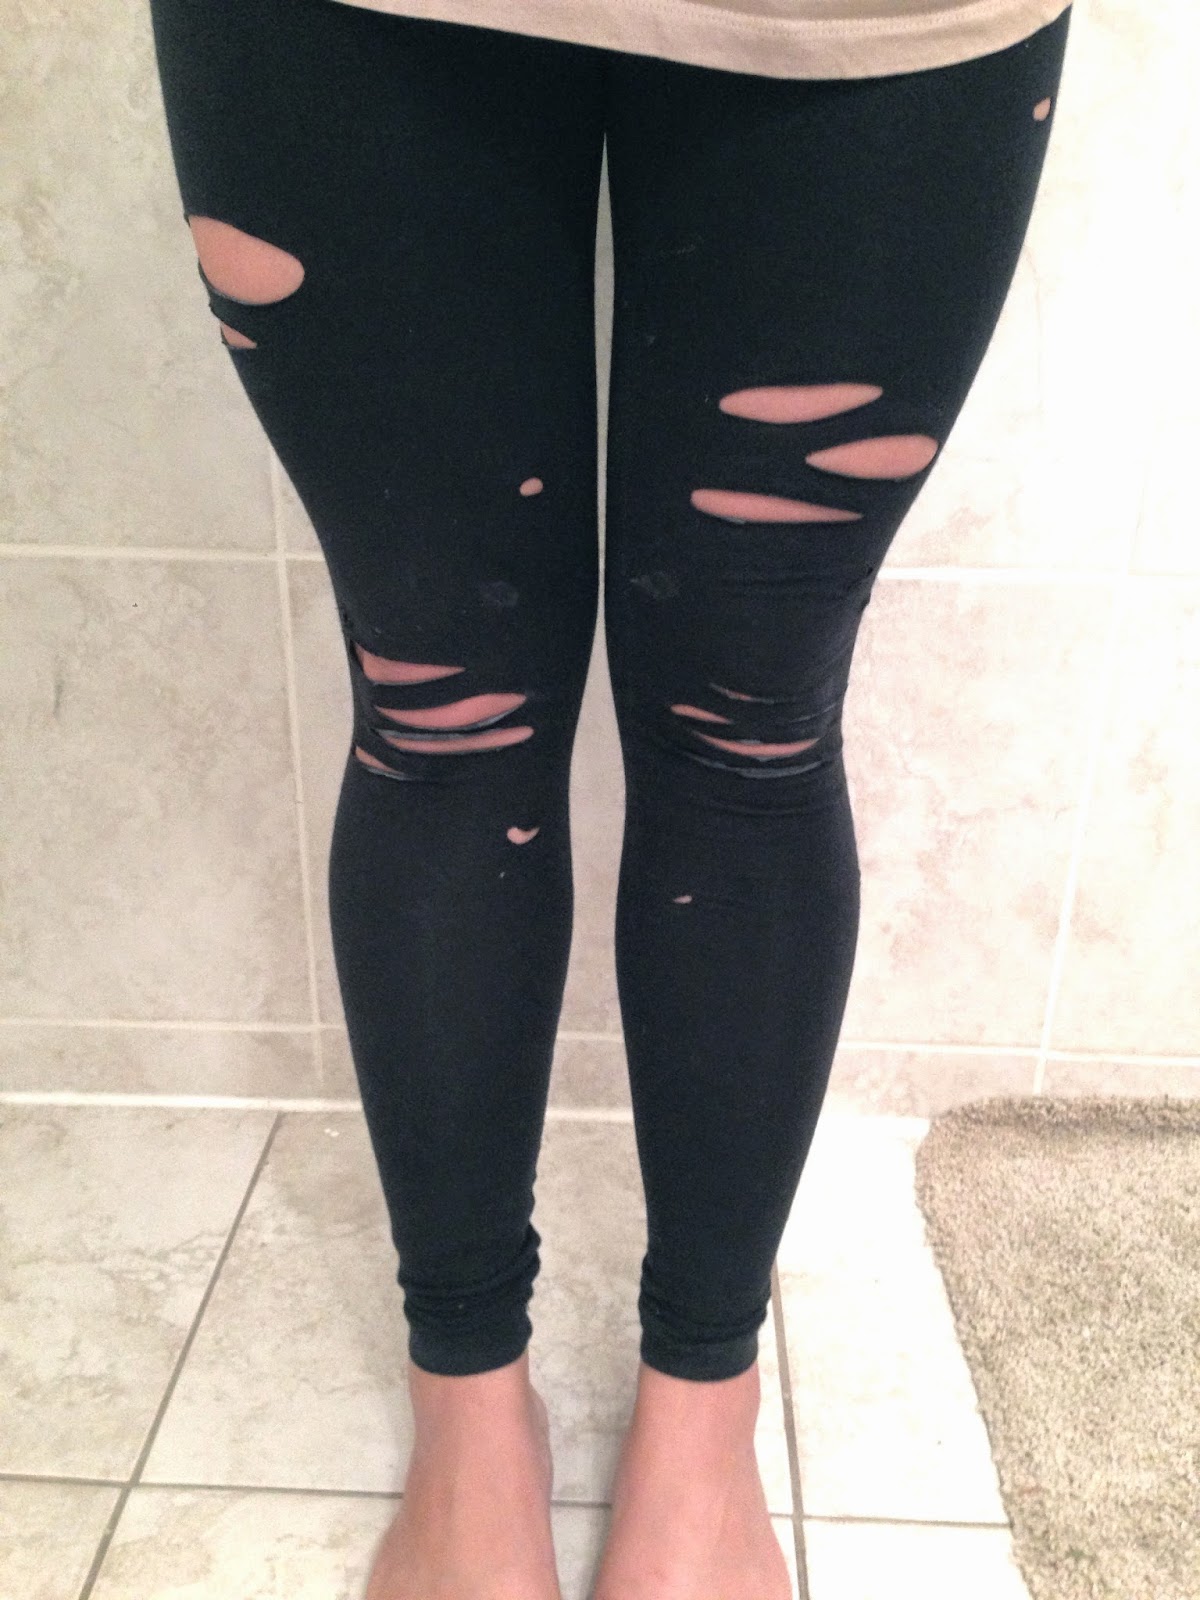
8. Turn your leggings right-side out, and they should look distressed and destroyed!


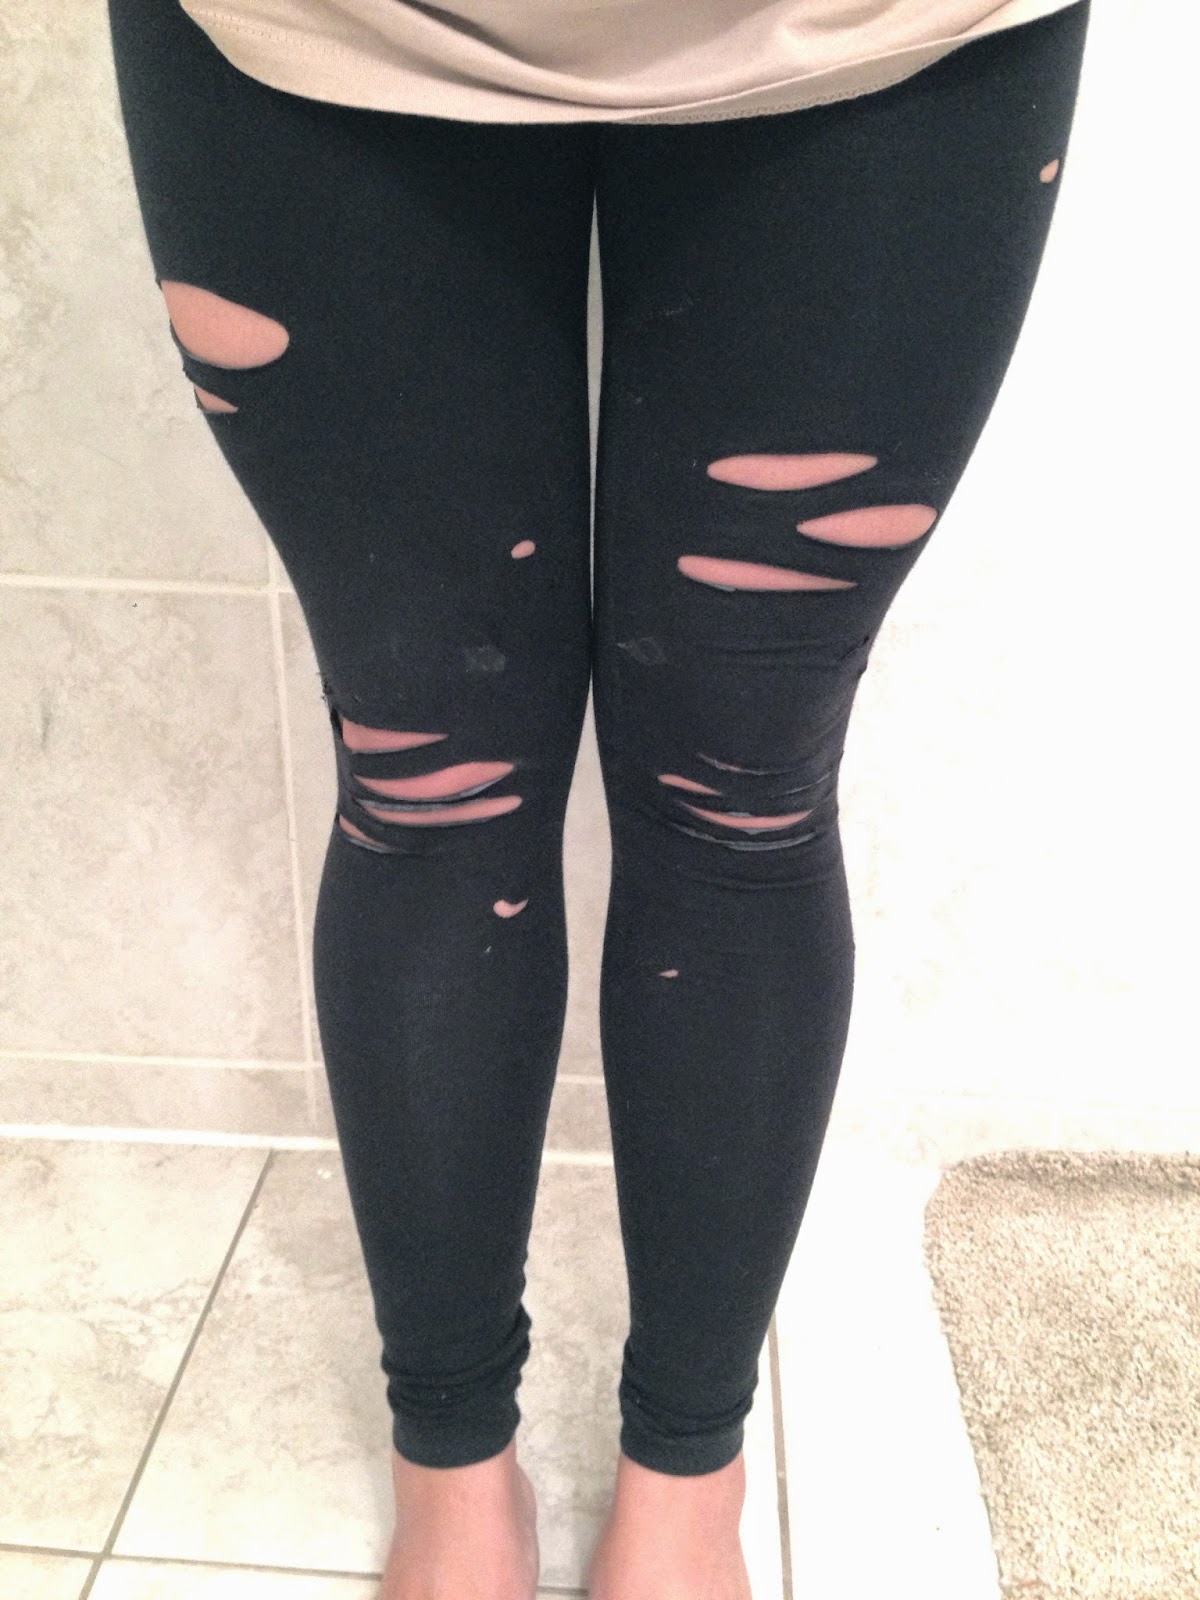
And voila! Here is what my leggings looked like when I put them on:

I love the way distressed leggings look with an oversized sweater, button down flannel, or baggy tee/tank. Pair them with a chunky black boot, lace up sneaker, or strappy nude sandal, and you have an outfit a la Kendall Jenner!

You can totally add more rips to the legging to make them more like Kendall's, or you can add only a few tears for a subtle look! It's totally up to you :]
xojaybee
Nice! I like the look.
ReplyDeleteThis comment has been removed by the author.
ReplyDeleteNice....Something DIFFERENT!!!!
ReplyDeleteThank you for your sharing articles. Today I have finded a Best YouTube channel for Art. Thats why sharing
ReplyDeleteEasy Art Hub
How to draw a realistic unicorn
how to draw a cute unicorn
Easy Art Hub
How to draw a realistic unicorn
how to draw a cute unicorn
Easy Art Hub
How to draw a realistic unicorn
how to draw a cute unicorn
Easy Art Hub
How to draw a realistic unicorn
how to draw a cute unicorn
Thank you for sharing this! I love how ours turned out 💕 DIY projects are not something I’ve been successful at attempting LOL. Surprised how easy this was. My daughters & I enjoyed ourselves very much & the outcome has been great. Appreciate the detailed guidelines & opportunity to make these with my girls! Posted with much gratitude.
ReplyDelete