Wednesday, July 16, 2014

Summer Nails!

Just a quick little update on my nails!  I got an American manicure (like a French manicure, but cream colored tips instead of stark white) with adorable heart-shaped floral nail art on my ring fingers.  The rhinestone really gives them some oomph, and the gold glitter is flashy but not too gaudy.  And if I'm going to get something this elaborate, I like to keep the rest of my nails bare.


I told my nail technician to do whatever she wanted, per usual.  She showed me a few photos on Pinterest, and we both fell in love with a design very similar to this.  She added her own spin on it, and voila!

I'm in love with them. They're so summery and fun!

xojaybee

Tuesday, July 15, 2014

Quick Beauty Haul!

This is definitely going to be sort of a mish-mosh of products -- so bear with me -- but I thought I'd share them with you!  Drugstore, Sephora.. my salon.. erp.  You know.  A day in the life.  If these hauls ever get boring, do tell.  But I like keeping y'all updated on what I'm getting + my thoughts/reviews on them so you can pick some up yourself or know what to avoid!!

So let's get on to it!

1.  Maybelline Fit Me! Shine Free Foundation, in "340 Cappuccino" ($8)


LISTEN UP EVERYONE.  Now don't get me wrong.  I love the NARS Matte Multiple.  But for $39 at 0.26oz, the little twist up stick is sort of ridiculously priced.  This Maybelline Fit Me! Shine Free Foundation is $8 for 0.32oz.  But June!, this says it's a foundation, and the Matte Multiple has so many uses!  Listen up again.  I compare this Cappuccino shade to the Altai or Vientaine shade from Nars, depending on your skin tone.  The MM is almost always sold out at Sephora stores, and hasn't been in stock on the website in what seems like forever.

I use the MM for contouring, and perhaps a cream eye shadow.  This Fit Me! Foundation can be used in an identical way.  Because I purchased such a dark shade, the creamy, powdery, lightweight formula is perfect for contouring!  I mean, it's perfect.  In the hollows of the cheeks, along the jawline, up on the temples and hairline, on the sides of the nose.  I am so pleasantly surprised by this product.  

If you can't get your hands on the MM and/or you just want a great, affordable cream contour/shadow in your makeup arsenal, GET THIS.  The end.

2.  Revlon Pearl Lipstick, in "120 Apricot Fantasy" ($8)


Alright.  I'm on the fence about this lipstick.  I've been trying to find an affordable peach lipstick -- one that I can slick on for every day wear and not worry about wasting an expensive product.  (I like to sort of "hoard" my high-end lipsticks for special occasions!)  I picked this up at my local Jewel (aka grocery store) and hoped for the best, since they don't have any "tester" products to try on before you buy.  I love the beautiful peachy color, but I think it comes off almost too pearl-y/frosty.  It almost reminds me of those pink frosty lipsticks that were popular circa 1997.  I wish it was creamier on the lips, and a little less sheer and thin.  It isn't terrible, but I don't think it's going to be my go-to lipstick.  

[Also, I know it looks like I really over-line my lips in lip color swatch photos, but I actually have a very strange line of pigmentation around the outer perimeter of my lips.  It's something I can either live with or try to cover up with concealer, which can get a little messy and cakey looking.  It's hard to get rid of so I just deal with it!]

3.  MakeUp ForEver Eyeshadow, in "164 Cafe Au Lait" ($21)


Eh, this product is pretty self explanatory.  I got an eyeshadow that is literally the same color as my skin.  See?  You can barely see the swatch on my hand, even though the shadow is extremely pigmented like all Makeup Forever shadows.  It's great for no-makeup makeup days, as a base for other shadows, a blending/transition shade, and a nice crease shadow.  I know, I obviously have at least 5 shadows that are almost the same color, but to a makeup addict, every single one is slightly different.  Trust me!  Since I've bought this I've used it every day.

4.  Too Faced Shadow Insurance Anti-Crease Eyeshadow Primer ($20)


First of all, I'm sorry about the absolutely terrible lighting in the swatch photos.  I was at my parent's house in my bedroom when the sun was going down, and.. I just couldn't get great lighting.  But then again, it's just eyeshadow primer that turns sheer when blended in.  It comes out of the tube an opaque nude shade, but the color definitely goes away once it's on the lid.  The consistency looks like it's going to be a bit too pasty for a primer, but it glides onto the skin effortlessly.  I'm addicted to my NARS eyeshadow primer and still haven't found one that I like better, but I'm giving this cult-classic a try.  I've used it a few times, and so far so good.  But I haven't really been in extreme heat or any weird weather situations.  Sephora rating system gives this primer a 4.7 out of 5, so how can you go wrong?

5.  Davines Hair Refresher Dry Cleansing Mist ($35 on Amazon)


Okay, so I got this product at my hair salon when I went brunette.  It's $35 on Amazon, but I think I snagged it for $28.  I don't really know if you can just walk into a salon and buy hair products without receiving any services, but.. try it?  

And let me just tell you, I have never used a "dry shampoo" better than this one.  Worth every penny.  I'm serious.  This is not actually a "dry shampoo" at all -- when it calls itself a cleansing mist, it is exactly that. If you spray a little in your hand to see the texture, it comes out just like a hairspray without being sticky whatsoever.  No powdery residue, no white specks, no.. anything, really.  It's a clear liquid that somehow gives your hair SO MUCH volume and body without feeling like there's any product in it or that it's drying your hair out like most oil absorbing products do.  Think of it as an extremely light oil that.. still.. absorbs oil in your hair.  Hard to explain, so check it out for yourself!  And it has a pretty fragrance, too!

------------------------------------------------------

Well, that's that! Like I said, super random. But hopefully helpful in some way!

xojaybee

Thursday, July 10, 2014

Dior Addict Lip Glow Review

As I've said time and time again, I'm not a big person to hop on a bandwagon before I've really done my research about a product.  This lip balm though.. omg.  I saw a few beauty gurus talk about this insanely expensive chap stick (basically) and I was extremely skeptical.  I understand that a Dior product is a Dior products -- I'm a fan of the Diorskin line as well as their Diorshow mascaras.  But this "lip glow" is even pricier than their mascara!  $32.  $32 is a lot of money for a LIP BALM.

Enter: Dior Addict Lip Glow.


What was so intriguing about this lip balm, however, is the claim that it changes colors with each wearer's body chemistry.  So, is this basically like a mood ring in a lip stick?  I definitely needed to see for myself.  Off I went to Sephora to try it on.  


And I loved what I saw!  I'm obviously not sure if it looks different on anyone else, seeing as how I was the only one who tried it on before I bought it, but it looked great!  The formula is glossy and surprisingly moisturizing.  I was a bit hesitant about the type of balm that Dior would produce -- not that I don't trust high-end brands, but a true "balm" is not usually what one would specialize in.  Glosses, shadows, bronzers, sure!  But something that I could get for $2 at CVS?  Not too sure.


It's great though!  As you can see, there is definitely a color change involved.  I was born with pretty pigmented lips, so I was working with quite a bit of color already.  But this balm really enhanced the rosiness and brought out a natural glow.  And like I said earlier, I was pleasantly surprised by the moisture it locked in my lips.  

The only problem I saw with this product was the longevity.  It's awesome while it's on the lips, but it doesn't last as long as I wanted it to.  I find myself having to reapply this balm throughout the day multiple times to keep the glossy finish and moisturizing feel.  However I don't think that is enough of a problem to make me regret this purchase!  I'm glad I went with my gut and picked this one up -- it's a great buy!

xojaybee

Monday, July 7, 2014

Mini Drugstore Haul!

So today I had some time in between plans to stop into Walgreens and poke my head around.  I had been eyeing a few drugstore beauty products lately and it was the perfect opportunity to pick them up!

Just because I don't showcase a lot of drugstore brands on this blog doesn't mean I don't like to try them out!  And if they perform better than high-end products, why would I want to spend more money for the real thing instead of using the "dupe"?

These are just a few random things I'm super excited to use -- I'll probably end up talking about them more in detail later.  But, I shall carry on.

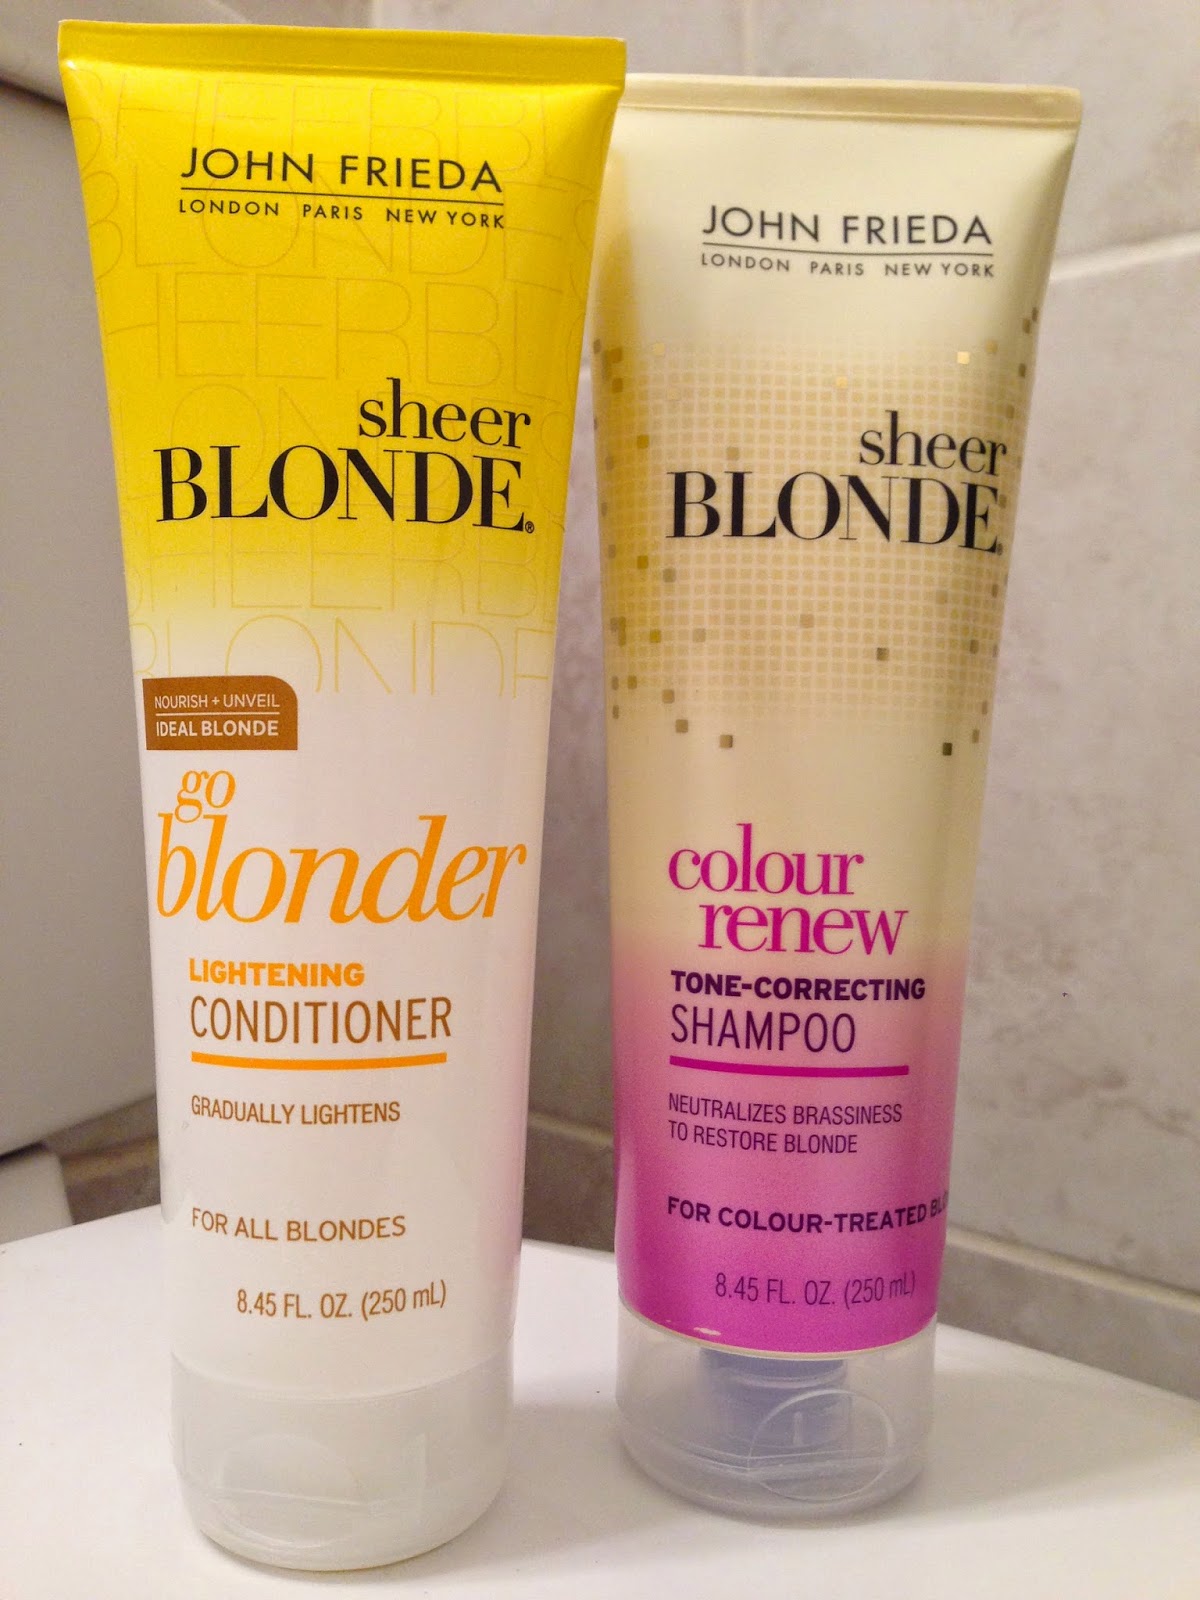
1.  John Frieda Sheer Blonde "Colour Renew" Tone Correcting Shampoo + "Go Blonder" Lightening Conditioner ($6 Each)


I have dabbled in this world of color correcting and renewing shampoos and conditioners, because, you know, the bottom half of my hair has been bleached for the better part of 3 years.  But nothing reaaaaaally seems to help.  Who knows if it's actually preventing damage that I'm not seeing had I not been using those products.. but we'll never know.  So for only $6 a piece, I decided to try these two John Frieda products out.  I got one type in the shampoo and one in the conditioner.  I figured I'd use the purple, tone correcting version in the shampoo to open up the pores of my hair and.. well.. correct the brassy tones of my bleached Asian hair, then go in with the lightening conditioner to lighten and seal up those cuticles.  We'll see if this works!  Also, considering I have my next bleaching session on July 30, we'll definitely see what these do for my hair.

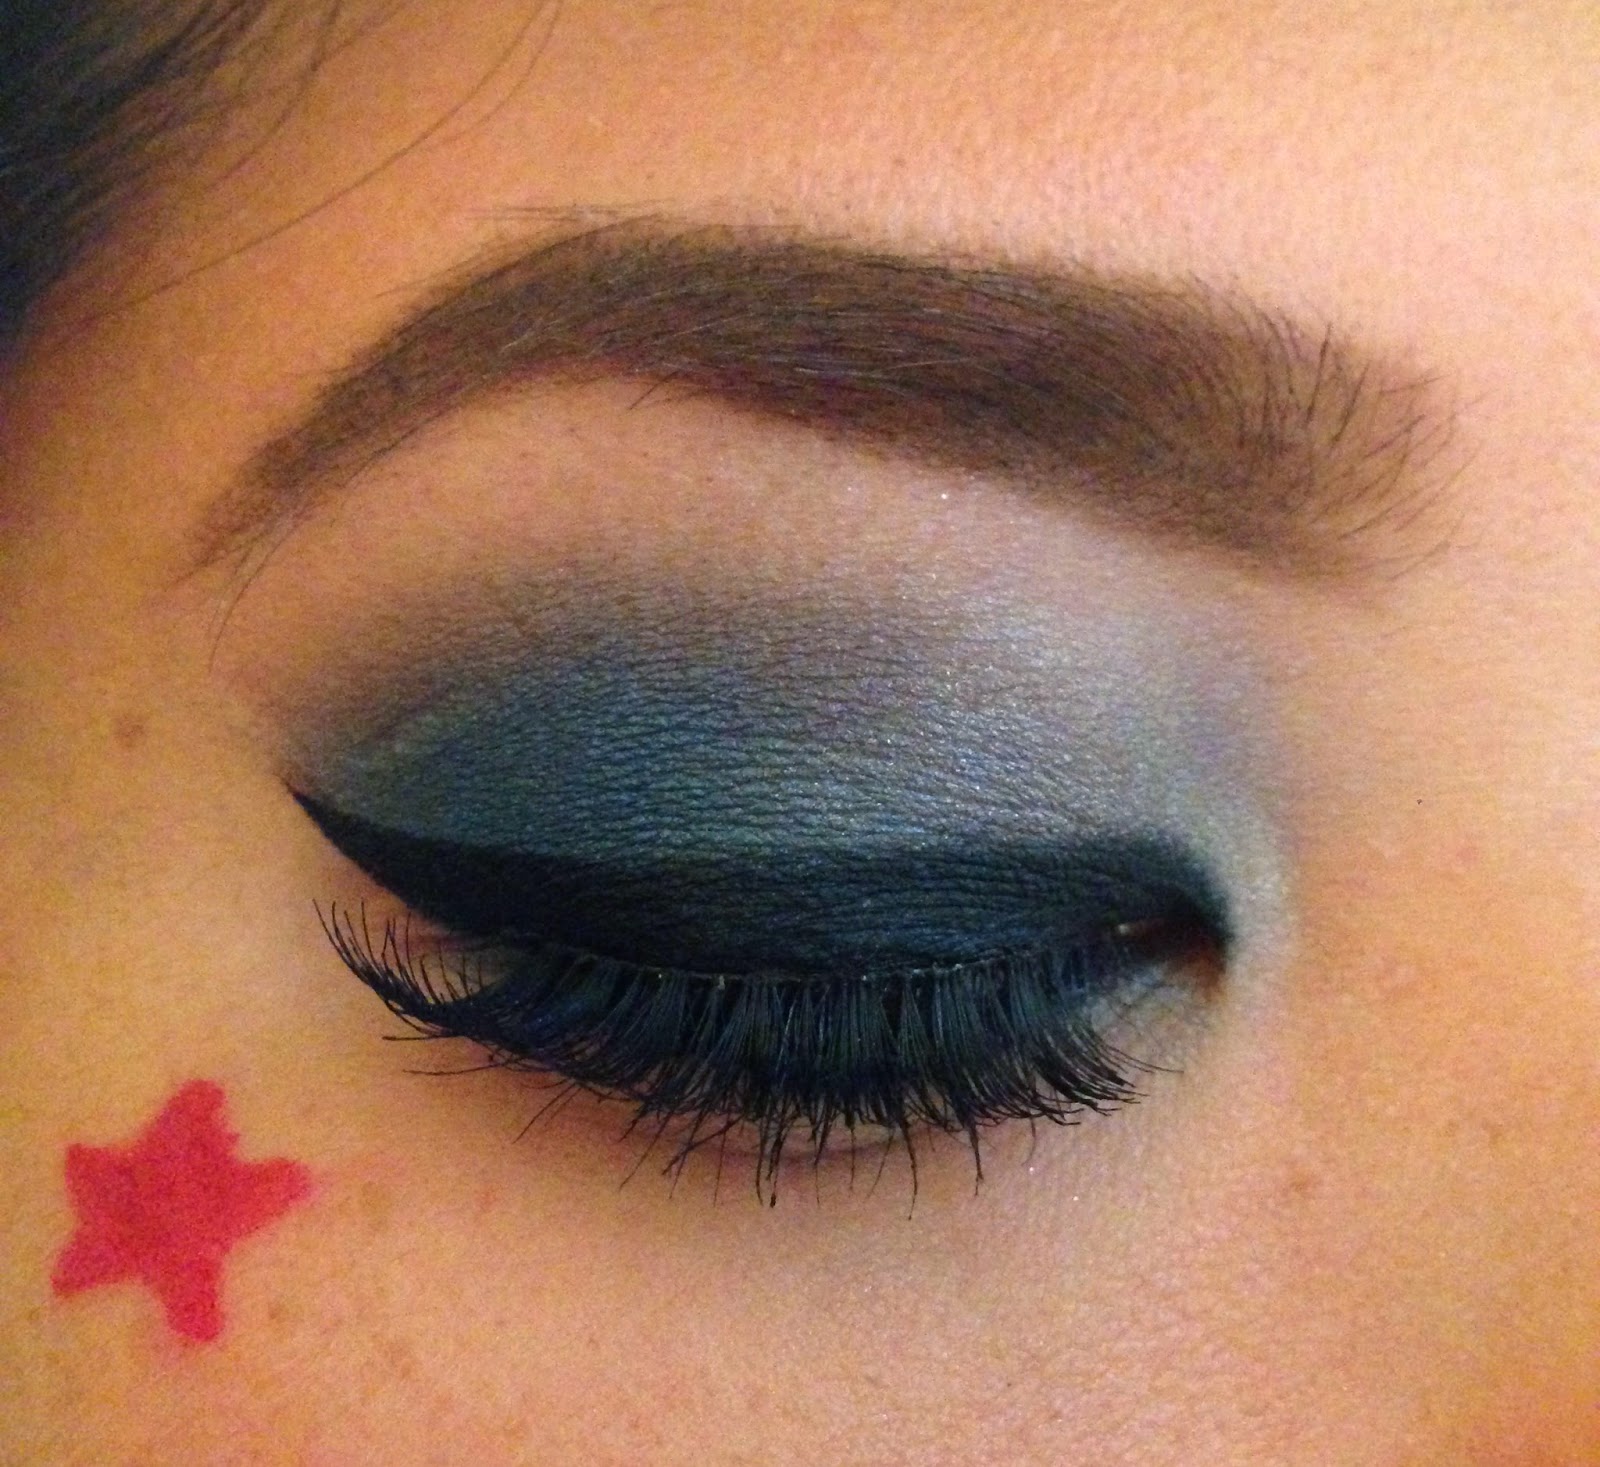
2.  L'Oreal Paris Infallible Eyeshadow in "Bottomless Java" and "Eternal Sunshine" ($6 Each, ON SALE)


So many beauty gurus rave about these shadows, so I obviously had to give a couple of their neutral shades a go.  They were on sale for Buy One Get One 50% off, which I took as a sign from heaven that their purchase was necessary.  Of course I picked up the gold and brown shades -- but here's the thing: I know how to work neutrals extremely well on my eyes and for my skin tone, and I know what to look for in a great shadow with these shades.  It's sort of like trying a bunch of different black coffees.  You know what you like, what you don't like, and what it should taste like to you.  That's what I do with beauty products!

Application with primer
Application without primer

The color pay off is actually quite nice even on unprimed skin.  And they're beautiful applied on top of a primer!  To be completely honest, these read just like an $18 Urban Decay shadow.  The UD shadow pots come in 0.05oz, and these L'Oreal Infallible shadows are .12oz -- that's MORE than DOUBLE the product for HALF the price.  I mean.. how can you go wrong?  And yes, these Infallibles only come in 16 shades, as opposed to UD's 68+ shades, but you can blend and mix them and create a ton of different possibilities.  You'd be paying $40 for the same amount of UD eyeshadow as these $6 babies.

3.  Maybelline Volum'Express Pumped Up! Colossal Mascara, Waterproof, in "Classic Black" ($8)


Again, this is another new absolute-must-favorite-cult-to-die-for mascara that every beauty guru has been talking about.  I'm not very quick to hop on the bandwagon for newer products (I just bought the original Naked palette for the first time, and it took me months to purchase the Anastasia Dip Brow, for example).  I sort of let the professionals do their job, test things out, wear them for a little bit, and then give honest reviews and opinions, before I commit to buying anything I haven't used on myself. 

I feel like I watched enough tutorials and read enough reviews on this one to commit to purchase -- granted it's only $8, so it didn't hurt too bad to buy.  I haven't tried it out yet, but trust me, I will be doing an in depth review on this! I may even pick up the waterproof Miss Manga mascara to compare the two new beauty guru faves side by side.


The wand is super bristley, and tapers at the end for precise application on the inner and lower lashes.  I'm excited to see how this works on my super long, super straight, super sparse lashes.  Because my lashes are extremely lengthy yet lack in the thickness department, I always tend to go for very volumizing mascaras to balance them out and give them a fuller look.  Hopefully this "volume express" and "pumped up" formula is a win!  I'd love to spend only $8 on a mascara for once.

4.  Studio 35 Beauty Fashion Clippers ($5)


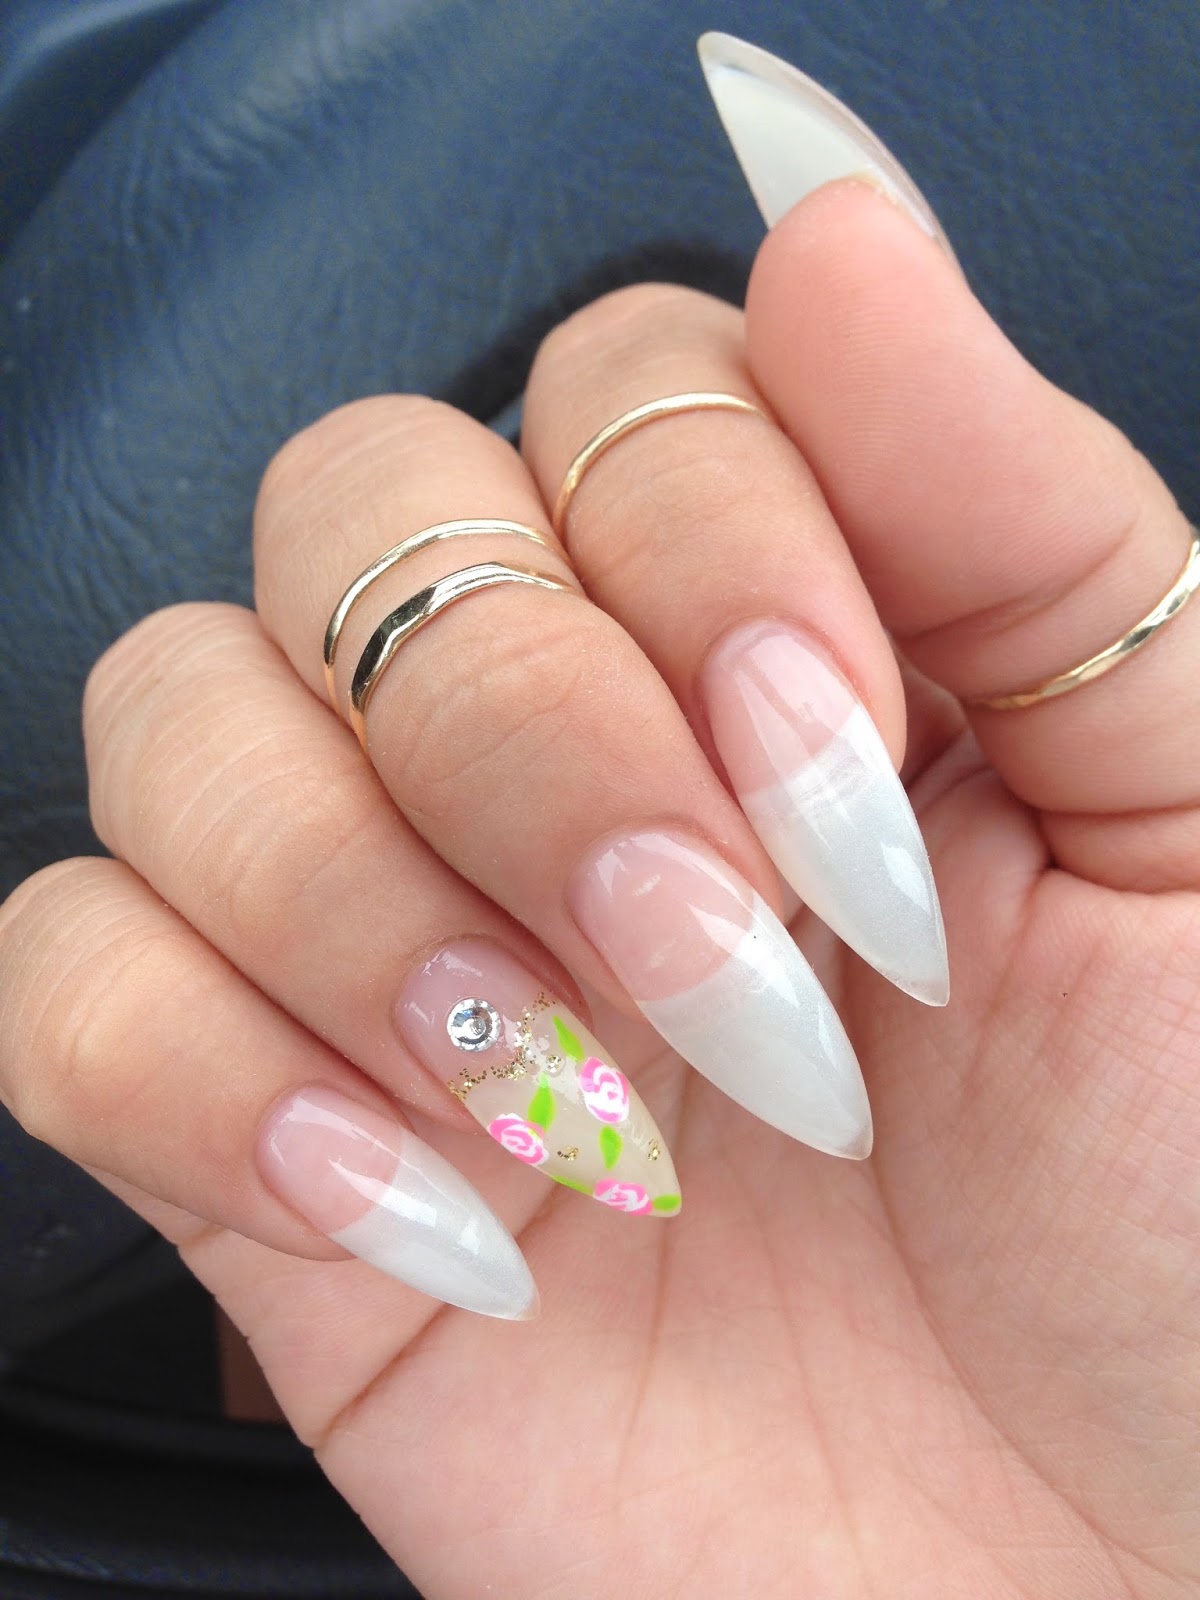
Okay. This is.. not really a "beauty" product but who. does. not. need. nail. clippers?  Unless you're disgusting and don't cut your nails, or you're so fabulous you only get mani-pedi's, chances are you need to use these every week or so.  And who doesn't love a cute little accessory like this?  I was in the market for a new pair of clippers (for realz), and just had to pick these up.  Why not add a little cuteness into your annoyingly mundane chores?  

----------------------------------------------------------

Like the title says, this was only a quick little mini haul -- nothing fancy or excessive.  But I'll definitely use the Infallible shadows in an upcoming tutorial (I have at least two new ones in the works!) and will write a whole review about the Pumped Up mascara, don't you worry!

xojaybee

Sunday, July 6, 2014

Cheesy and Garlicy "Cheddar Bay" Biscuits

I cook.  I cook all the time.  But I never remember to photograph any of the steps or ingredients as I'm cooking for this blog.  And that makes me sad.

However, this recipe is almost so easy that step-by-step photos aren't even necessary.  In fact -- I don't even use a "recipe" in the traditional sense.  I don't know about you, but I like to go to Red Lobster just for their Cheddar Bay Biscuits that are served on the table in place of bread.  Sometimes I make a meal out of them.  (Don't forget, a vegetarian eating at a seafood restaurant can be tricky, unless I want to eat "Shrimp Fettucini Alfredo without the shrimp" or a "Caesar salad.. no, no, no shrimp. No chicken either. No, I don't want any meat.  Yes, I'm sure.")

Trust me.  Baking biscuits may seem intimidating if you're not used to it, but this is so simple it's sick.  


All you need is:
Buttermilk Pancake mix
Shredded cheddar cheese
Milk
Water
1 stick cold butter
Minced garlic
Herbs (I used my fresh, garden-grown parsley and chives.. but you can also used the dried variety)

Preheat your oven to 375, and spray a cookie sheet with some nonstick spray.  Grab a medium mixing bowl, a small saucepan, and pastry cutter.

This may sound crazy, but this is how I roll.  I don't even measure ANYTHING for this dish.  Not one measuring spoon, not one lined cup.  Nothing.  Just take a medium sized bowl and dump in as much buttermilk pancake mix as you desire.  You can sort of eyeball how much you need.  I think I used around 2-3 cups.  Then, cut half a stick of cold butter into the dry mix.  I used a pastry cutter, but, I mean.. just use a fork if you don't have one of those.  Don't mix it too much though! -- the pieces of butter should look like the size of little pearls.  Then just add a big handful of shredded cheese.  I honestly probably use as much cheese as I do buttermilk pancake mix.  If you like things very garlicy, dump a few spoonfuls of minced garlic (or a few cloves of fresh minced garlic) into the mix.  Stir in some milk and water, but just enough to make the "dough" sticky and very firm.  It should sort of look and feel like playdoh.  Then mix in some minced garlic and herbs.

Scoop some of the dough onto a greased cookie sheet, about the size of a scoop of ice cream.  Pop those in the oven!

As soon as you do that, put the other half of the stick of butter that you didn't use in the dough into a saucepan and melt it.  Dump some minced garlic and fresh herbs into the melted butter and stir it around to draw some of the flavors out.  After the biscuits have been in the oven for about 7-8 minutes, take them out and baste the tops with the melted butter and garlic.  But only use about half the butter mixture.  Mmmmm.  Stick them back in the oven for another 5-6 minutes or so, until the tops are getting golden brown.  Take 'em out and use the rest of the melted butter and garlic on the tops of the biscuits and pop them in the oven for a quick minute or so until the tops are sizzling.

And.. that's it!  They're done.


These things are so delicious and addicting.  And they have a whole stick of butter in them, sooooo.  You know.  Obviously you shouldn't make these every day, but they're so fun to have once in a while.  Nothing will be as good as the actual Cheddar Bay Biscuits from Red Lobster, but these are great for when you can't go to the restaurant!

They're great as a side before a salad or pasta, and a cute appetizer for parties (you can just use a little spoon and make them small and adorable instead of the size of a scoop of ice cream!).  They're also good for a brunch or lunch with friends.

And because I don't really "measure" things, they're pretty damn easy to recreate.  So get cooking :]

xojaybee

Saturday, July 5, 2014

Fourth of July Makeup + Outfit

Ahh, holidays -- a perfect opportunity to do some crazy makeup that you normally couldn't get away with on a normal day.

Fourth of July?  Cue the red, white, and blue makeup!  It's fun to sort of let loose with makeup looks like this, because to me it's essentially a costume.  I'd obviously never wear this type of eyeshadow just for kicks to run errands or grab coffee.  But when all you're doing is going to a barbecue and watching some fireworks with friends.. why not?!

I've seen some Fourth of July makeup looks that, to be frank, did not look appealing.  I'm sorry, but I don't want to walk around with a French flag on my eyelid.  And let's be real -- it's extremely hard to try to blend and mix red with blue in a cohesive way where you don't end up looking like a coloring book gone wrong.

So this is what I came up with:


I went with a gradient eyeshadow from white to dark blue, paired with a dramatic winged eyeliner and falsies.  I matched the same gradient pattern on the lower lid and smudged in some black liner on the waterline and lashline.  And, of course, took a matte red lipstick on an eyeliner brush and drew a little red star for some fun.  

No, I didn't incorporate red into the actual eyeshadow, but I didn't even want to.  You can still subtly create an "American"-themed makeup look without trying to draw stars and stripes onto your lid.  And I think it turned out very Fourth-of-July-chic, anyway.

It was a beautiful and sunny 80 degree day in Chicago, so I threw on a cropped top and cut off jean shorts -- one of the most 'Murican outfits there is -- and added a backwards denim baseball cap (which, perfectly, happened to have a red tag on it).  


I also decided to tie a red flannel around my waist at the last minute before heading out the door just in case the temperature dropped when the sun went down.  Plus it just added to the festive patriotic colors of my outfit.  And to be the most 'Murican as I could, I only wore my Birkenstocks all day.  Yes.  Even to the club at night.


Buuuuut not even kidding.  It was great!  I've never been so comfortable drinking pitchers and dancing to Lady Gaga ever in my life.  In Birkenstocks.

And that's where I should probably see myself out.  

Hope everyone had a great Fourth of July!


xojaybee

Wednesday, July 2, 2014

Shorter + Lighter Hair: Session 1

So.  Today I chopped off 5" from my length and about 8" from my layers.  Dun dun duuuun.  I also bleached the entirety of my hair, aside from my roots (which I kept my natural dark brown)..

Right: Before -- Left: After

In 4 weeks, I have another appointment to go back and re-bleach the bottom half of my hair so it turns an ashy, light blonde.  I'm excited!  I have never had hair this light in my life, and I think it really changes the way I look.

And the layers!  Not only is my hair 100% healthier because I chopped off all the dead and split ends, but I also added ten times more volume because of all the layers.  I used to have a ton of long layers when I consistently went to a stylist, but since I stopped getting my hair done professionally, I let all the layers grow out on their own ('til they were virtually non-existent).  However.. they're back!  So much volume!!  I just asked the stylist to do whatever she thought would look good, and I couldn't be happier.

I haven't had my hair cut or colored professionally since 2011.  That's right.  You read that correctly.  2011.  It has been about 3 years.  Since starting my job in a very professional environment, I finally decided it was time to clean up my act a little bit.  Less hippy dippy, more styled.. if you will.  Of course I still want to maintain my personal style, so when I bleach the ends I'll feel more like myself again.  But for the next 4 weeks I can enjoy being a true brunette!


I'm even thinking about going so platinum at the bottom that I can temporarily play around with lavender/silver.  Oh yeah.   (But only temporarily -- I still have a real job!)

---------------------------------------------------

If you are thinking about doing something fun with your hair, DO IT!  It's honestly just hair, and you can always fix it, no matter what you think.  And it does grow.  I chop off inches of my hair at a time when I get bored with it, and it seems like it all grows back almost over night.  Take the chance!

xojaybee