
If I see something I like -- room decor, furniture, clothing, etc. -- I always ask myself if I can make it myself without having to buy it. Not only do I enjoy creating DIY projects, it also can save a ton of money. Plus, there's a sort of self satisfaction when you look at your own creation and love it.
I recently saw an adorable fairy light mason jar nightlight, and I immediately knew I wanted one. The look of little fairies or fireflies flying in the jar is too cute. And I also realized how easy it would be to put one together on my own. These jar lights can retail for upwards of $30 a piece! I created mine for only $8 (I already had the lace and twine in my craft stash, but more on that later). $8 for this gorgeous, adorable fairy light mason jar nightlight! It's extremely simple and easy to make!
Read on for the tutorial.

--------------------------------------------------
1. Open your LED Moon Lights and follow the instructions to activate them and turn them on -- make sure they work before you create the nightlight!

You can find these warm white lights at JoAnn Fabrics for $6 here, or certain discount craft websites like Sunshine for $5 here.
2. Pick up a standard 1 pint mason jar. These can be found in a ton of stores -- they sell them individually at Michael's Craft stores and Wal-Mart usually -- for only $1-$2 a pop. You can also get them on Amazon, eBay, or just by searching for mason jars on Google. (If you can find a use for a bunch of them, Wal-Mart has a great deal for 12 jars for $10!)

Take apart the jar into the three separate pieces.
3. Using standard super glue, glue the battery pack to the disc part of the mason jar lid, on the inside of the lid (the side that faces down into the jar). Make sure to glue down the side of the battery pack that doesn't have the flap to open it up to change the batteries.

Press the battery pack down firmly against the lid, and leave it alone for a while to ensure that it's completely dry.

4. Use (or buy, if you don't have any) a pretty lace trim to decorate the outside of the jar. Circle the trim around the jar two times, and cut the lace accordingly. With the same super glue, secure the end of the lace to the jar itself -- I recommend using super glue for this because you're trying to secure lace to glass (as opposed to fabric glue, which you'll use later).


If you don't have a big craft stash like me, you can find pretty ribbon at Michaels' or JoAnn Fabrics. Sometimes even the Dollar Store can have some pretty laces! And if you don't want to use a cream color (like I clearly do), you can use any color lace you want, to match any theme or room of your choice.
5. Circle the trim around the jar twice, and glue down the end of the trim with some permanent fabric glue. I also have this in my craft stash, but you can find some good permanent fabric glue for $3 at Michael's.


6. At the end of the lace (where you just secured the two ends together), dab another dollop of fabric glue and secure the end of a long piece of twine to the trim. You can also buy basic twine at any craft or home improvement store -- it's usually super cheap and easy to find!

Continue to circle the twine around the jar until you've created a thick band of twine (to your liking).

7. Cut the end of the twine and fabric glue the end to the rest of the twine. Try to cut it off where the first end starts. (All of the cutting and gluing should be happening along the same "seam".)

8. Once the battery pack is VERY secure to the top of the mason jar lid, carefully lower the strand of LED lights into the jar and place the lid on top. If you don't wait until the battery pack is dry, the pack might fall loose from the lid and make a super glue mess all over the lights.

9. Screw the second part of the lid onto the jar tight, and VOILA!

You have yourself a homemade, DIY fairy light mason jar nightlight!
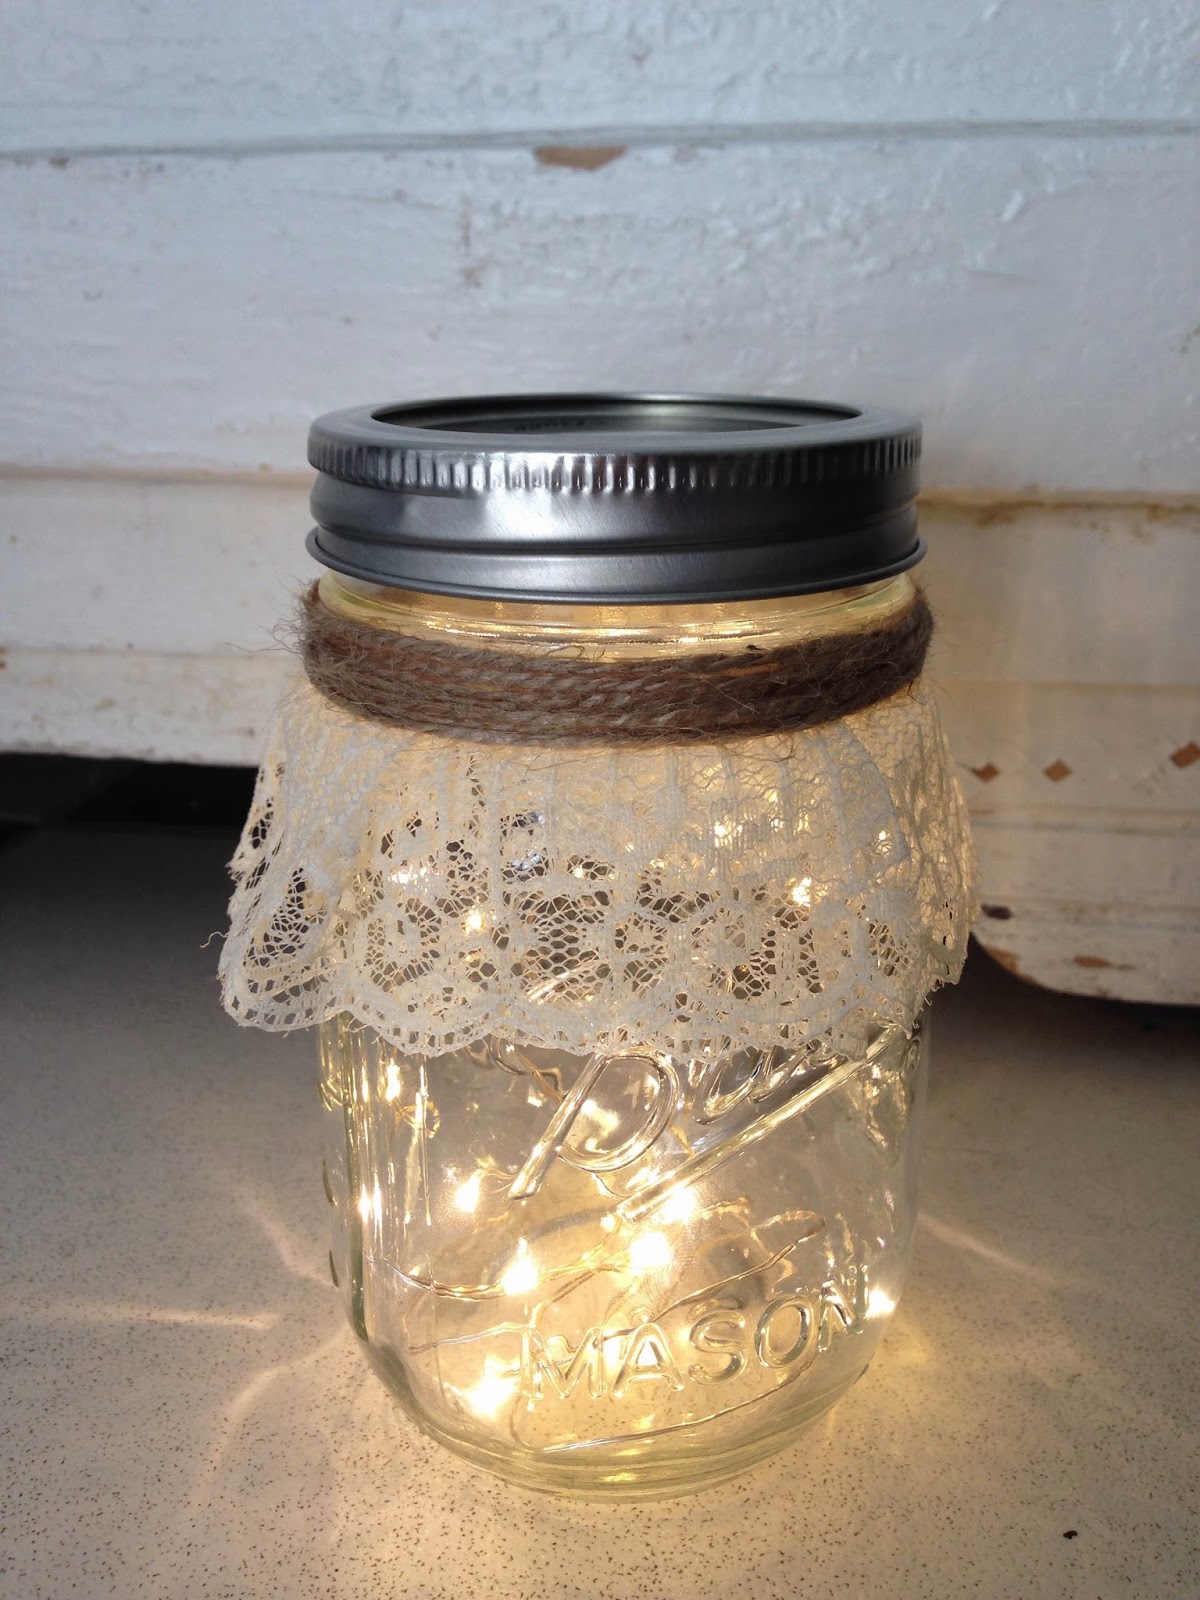
It's even cute when the lights are turned off, and makes a pretty accessory for your bedroom or any room in the house.

They're even great for outdoor entertaining in the summer! Just turn them on when you're outside as the sun is setting, and watch them illuminate a party or get together on your patio or porch during the night.


The LED lights are surprisingly powerful and can light up quite a large space! And for such an inexpensive project, you can make a bunch of them and really impress your friends and family. Make your own adorable custom DIY fairy light mason jar nightlight for under $10 and spice up any room in your house. They're cute AND practical!

No comments:
Post a Comment